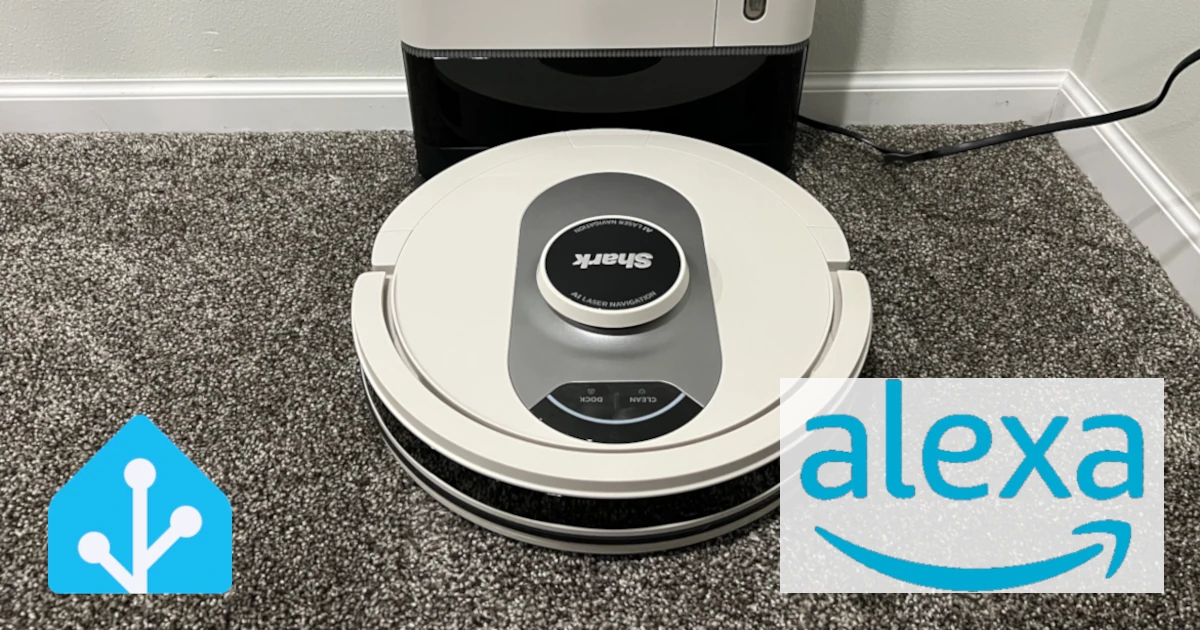
Integrate SharkIQ with Home Assistant using Alexa
This was the first post on my blog, originally published in early 2025. It has been updated to use the newer template vacuum syntax after Home Assistant began warning that the old syntax will be deprecated in the June 2026 release. The post also now uses the built-in Alexa integration instead of HACS Alexa Media Player.
I have two SharkIQ robot vacuums and initially set up the SharkIQ integration in Home Assistant. Of course, as soon as I finished configuring everything the way I liked it, with dashboard buttons to control the vacuums, Shark decided to block third-party access to their API.
For a while, I resorted to using the SharkIQ app on my iPhone, but I quickly became frustrated with its slow performance and frequent sign-in prompts.
The other day, I came across a blog post by Garrett Morgan at GarrettDevelops.com that demonstrated how to use Google Home to integrate SharkIQ robots with Home Assistant. Since I don’t use Google Home for anything else but have Alexa set up via Home Assistant Cloud, I decided to create my own version using Alexa.
Requirements
To implement this integration, you’ll need the following:
- Home Assistant Cloud
- Alexa integration for Home Assistant Cloud enabled
- Alexa Shark Clean Pro Skill (this replaces the older Shark Clean skill)
Creating a Template Vacuum
To enable vacuum controls in Home Assistant, we will create a Template Vacuum.
- In your
configuration.yamlfile, add the following line:
1
template: !include templates.yaml
- Create a
templates.yamlfile and add the following configuration:
1
2
3
4
5
6
7
8
9
10
11
12
13
14
15
16
17
18
19
20
21
22
23
24
25
26
27
28
29
- vacuum:
  - unique_id: # Insert a GUID for the unique ID.
    name: Clean Elizabeth
    default_entity_id: vacuum.living_room # Used to satisfy HA entity expectations
    start:
      - action: script.vacuum_start
        data:
          robotname: Elizabeth
    pause:
      - action: script.vacuum_pause
        data:
          robotname: Elizabeth
    return_to_base:
      - action: script.vacuum_return_to_base
        data:
          robotname: Elizabeth
    locate:
      - action: script.vacuum_locate_vacuum
        data:
          robotname: Elizabeth
    set_fan_speed:
      - action: script.vacuum_set_fan_speed
        data:
          robotname: Elizabeth
          speed: ""
    fan_speeds:
      - ECO
      - NORMAL
      - MAX
Repeat this configuration for each vacuum if you have multiple units.
Restart Home Assistant to apply the new configuration, and a new vacuum entity will appear.
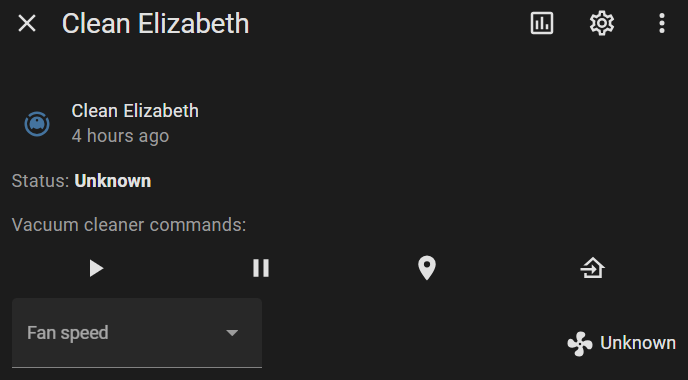
Since the SharkIQ Alexa Skill will not provide status updates to Home Assistant, I did not include status templates. When you send a command to Alexa, the response is spoken through the Echo device, rather than being reflected in Home Assistant.
Creating the Scripts
I created scripts for the following actions: Start, Pause, Return to Base, and Set Fan Speed. For the scripts to work correctly with the vacuum entity type, they must follow the proper naming convention. If you use different script names, Home Assistant will return an error.
To use these scripts, you will need the entity ID of the Alexa device that will send the voice commands. Any response from Alexa will be played through this device.
We use the Alexa_devices.send_text_command action with text_command, which contains the voice command to send to Alexa.
Vacuum Start
This script must be named script.vacuum_start:
1
2
3
4
5
6
7
8
9
10
11
12
13
14
15
sequence:
  - action: alexa_devices.send_text_command
    metadata: {}
    data:
      device_id: [ALEXA_DEVICE_ID]
      text_command: Alexa, ask Shark to start cleaning with
fields:
  robotname:
    selector:
      text: null
    name: RobotName
    description: RobotName
    required: true
alias: Vacuum start
description: Starts the robot vacuum
Vacuum Pause
This script must be named script.vacuum_pause:
1
2
3
4
5
6
7
8
9
10
11
12
13
14
15
sequence:
  - action: alexa_devices.send_text_command
    metadata: {}
    data:
      device_id: [ALEXA_DEVICE_ID]
      text_command: Alexa, ask Shark to pause
fields:
  robotname:
    selector:
      text: null
    name: RobotName
    description: RobotName
    required: true
alias: Vacuum Pause
description: Pauses the vacuum
Vacuum Return to Base
This script must be named script.vacuum_return_to_base:
1
2
3
4
5
6
7
8
9
10
11
12
13
14
15
sequence:
  - action: alexa_devices.send_text_command
    metadata: {}
    data:
      device_id: [ALEXA_DEVICE_ID]
      text_command: Alexa, ask Shark to return to dock
fields:
  robotname:
    selector:
      text: null
    name: RobotName
    description: RobotName
    required: true
alias: Vacuum return to base
description: Docks the vacuum
Vacuum Set Fan Speed
This script must be named script.vacuum_set_fan_speed. It includes a field for the speed setting.
1
2
3
4
5
6
7
8
9
10
11
12
13
14
15
16
17
18
19
20
21
22
23
sequence:
  - action: alexa_devices.send_text_command
    metadata: {}
    data:
      device_id: [ALEXA_DEVICE_ID]
      text_command: Alexa, set mode to  on
fields:
  robotname:
    selector:
      text: null
    name: RobotName
    description: RobotName
    required: true
  speed:
    selector:
      select:
        options:
          - ECO
          - NORMAL
          - MAX
    name: speed
alias: Vacuum set fan speed
description: Sets the vacuum fan speed
I had some issues with setting the fan speed not always working. Alexa would respond that she didn’t know how to do that. Typing the same command into the Alexa app or saying it to an Echo Dot worked, so I’m stumped on this one.
Room Cleaning Script
I also created a script for cleaning specific rooms, which allows me to add buttons to the dashboard.
1
2
3
4
5
6
7
8
9
10
11
12
13
14
15
16
17
18
19
20
21
22
23
24
25
26
sequence:
  - action: alexa_devices.send_text_command
    metadata: {}
    data:
      device_id: [ALEXA_DEVICE_ID]
      text_command: Alexa, ask Shark to  the  using
fields:
  cleantype:
    selector:
      select:
        options:
          - clean
          - matrix clean
    name: CleanType
    description: Type of clean to perform
  room:
    selector:
      text: null
    name: Room
    description: Room to clean
  robotname:
    selector:
      text: null
    name: RobotName
    description: RobotName
alias: Robot clean command
Summary
With this setup, your SharkIQ vacuum is back in Home Assistant! Now you can run commands quickly without dealing with the sluggish SharkIQ app. Feel free to customize and expand upon this integration, and most importantly, stay curious!
Want to share your thoughts or ask a question?
This blog runs on coffee, YAML, and the occasional dad joke.
If you’ve found a post helpful, you can
support my work or
☕ buy me a coffee.
Curious about the gear I use? Check out my smart home and homelab setup.